Embed Twitter Widget on Shopify website
Follow the following step by step guide to embed Twitter Widget on Shopify website successfully.
Try Tagembed – Create Your Free Account Now
Step 1: Aggregate Twitter Widget
1. Sign Up to create a Free Tagembed account or Login if you’re an existing user.

2. You’ll be redirected to a page where you need to select social widget as your product to continue collecting Twitter feed.

4. A screen “Pick a source” will appear, here select Twitter from the list of networks.

5. You can aggregate Twitter feeds using following methods:
- Hashtag – Aggregate feeds from the selective hashtag.
- Handle – Enter the handle name to aggregate feeds from.
- List – Aggregate feeds from Twitter group (in twitter known as lists).
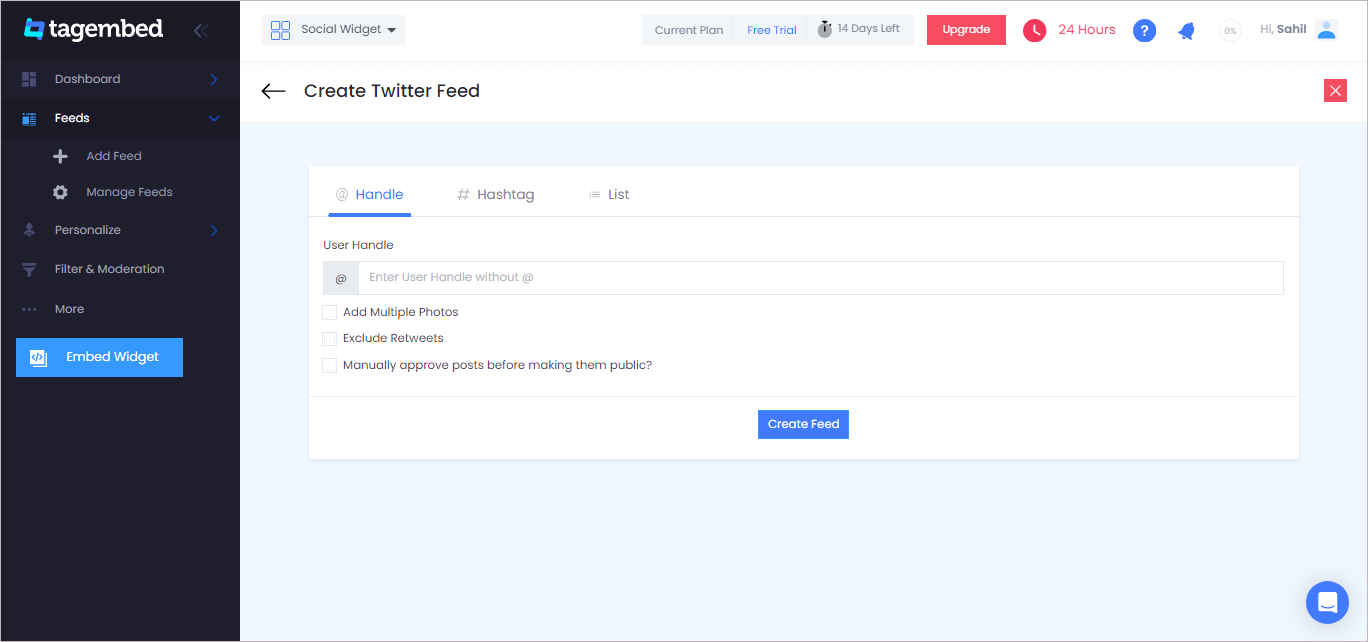
6. Finally, click on the Create Feed button to start aggregation.
Tip: You can click on the Personalize tab on the left menu panel to change the themes & layout, background, banners and other dedicated themes settings to make the widget look more appealing and attractive.
Step 2: Generate Embed Code for Shopify website
1. On the bottom-left menu panel, click on the Embed Widget button.

2. A new pop-up “Choose Your Platform” will appear with the list of different website CMS.

3. Choose your website CMS as Shopify and adjust the height & width of the widget.
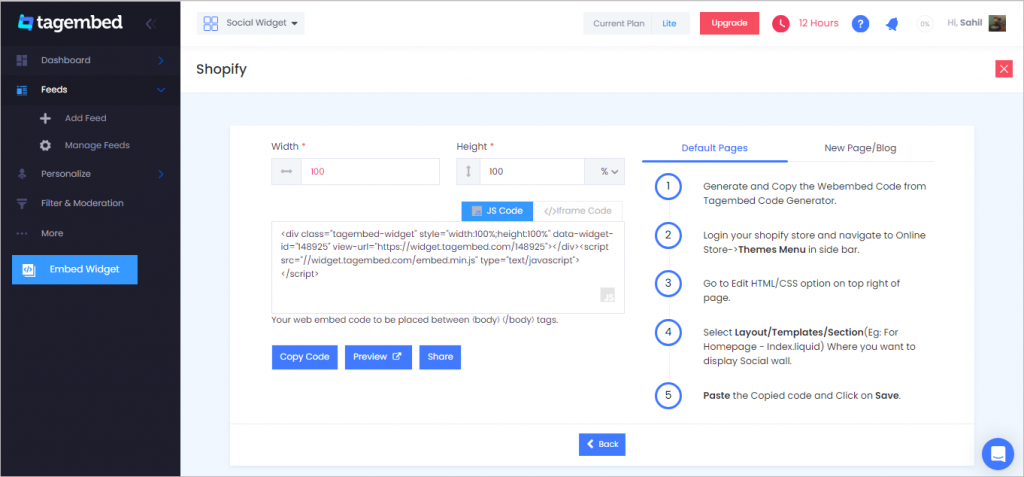
4. Finally, click on the Copy Code button to copy the embed code.
Step 3: Embed Twitter Widget on your Shopify websites
After copying the embed code follow few more clickable steps to complete the embedding process.
Note: On Shopify you can embed Feeds on three different places, such as: Default Page, New Page, Blog Posts. Below are the steps for all the three methods.
Default Page
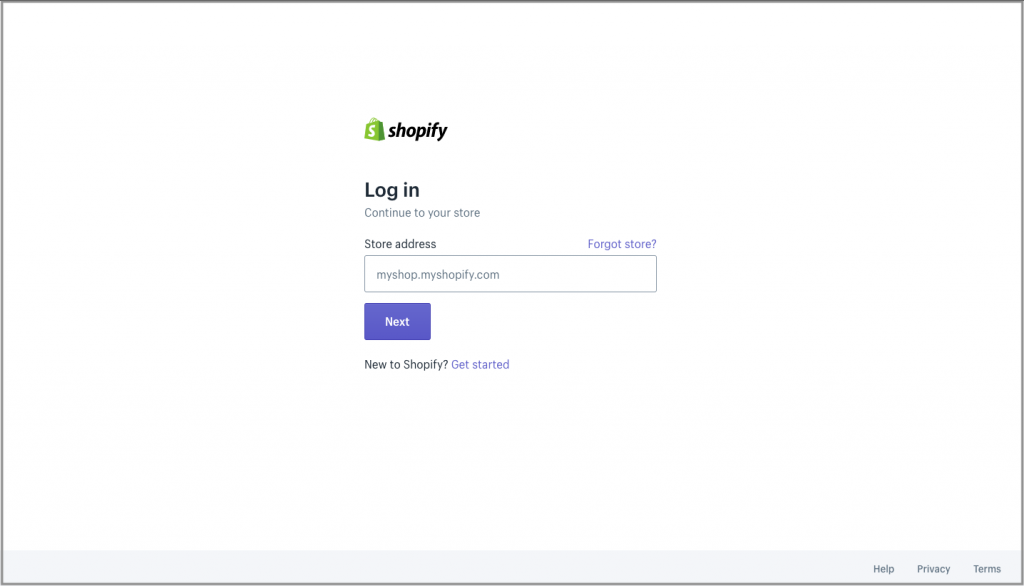
1. Login to your Shopify admin account and open the backend of the page you would like to embed the feeds on.
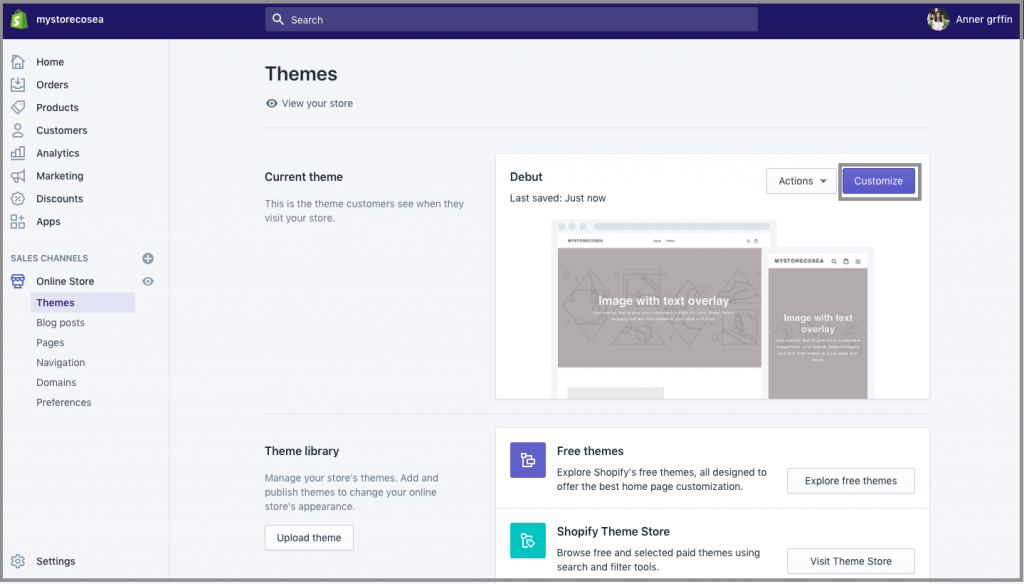
2. On the left-hand side you’ll find Online Store under the sales channels tab. Click it to open more options.
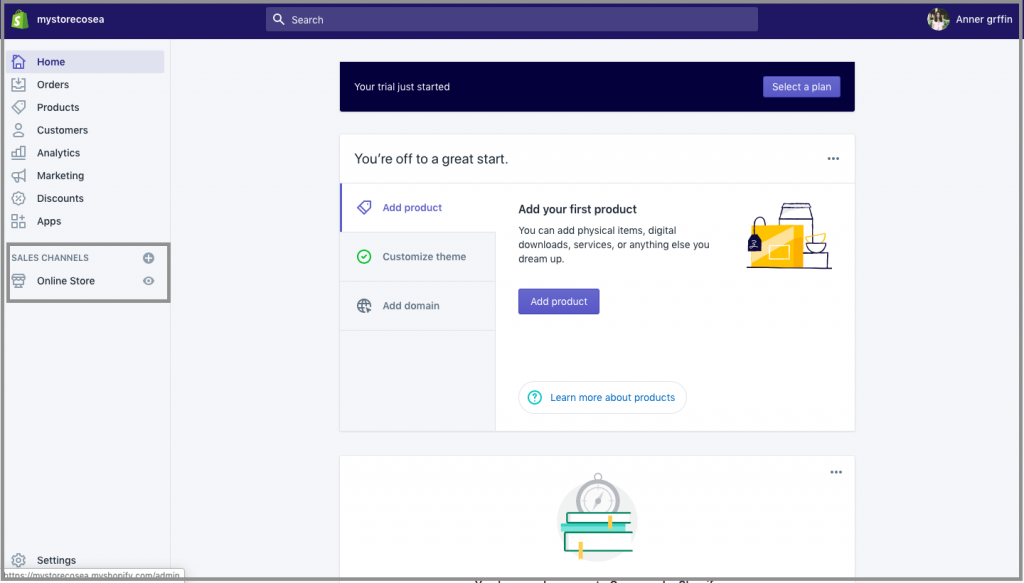
3. Select Themes tab and on the screen you’ll find customize option button, click on it.
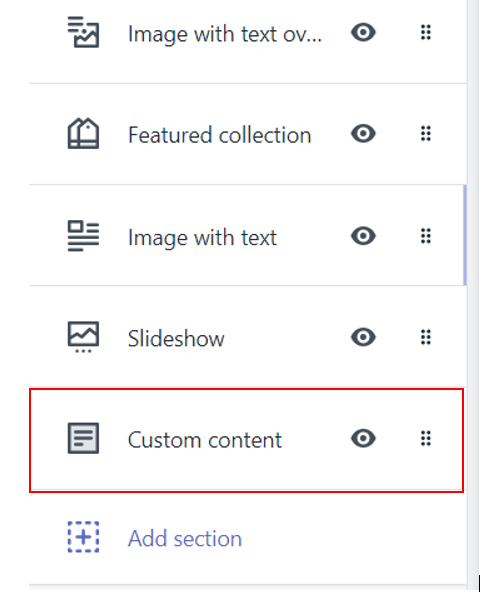
4. Navigate through the left menu panel and select Custom Content
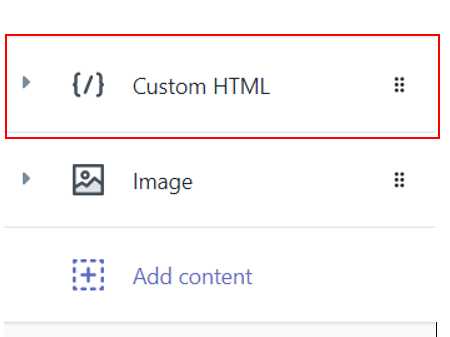
5. A new options will appear Custom HTML, click on it then Paste the embed code and Save the changes made.
Reload the page to see the live Twitter Widget on your website.
New Pages
1. Login to your Shopify account and on the left-hand side menu, sail through Sales Channels->Online Store->Pages

2. Click on Add Page button to add a new page.

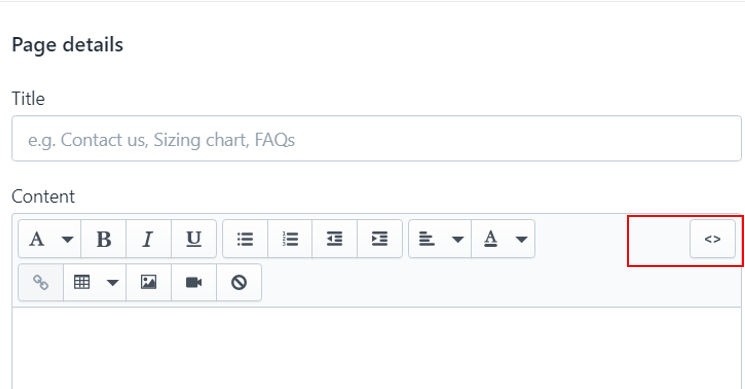
3. There will be an embed icon (<>) button on the right-hand side of the screen. Click on it and paste the embed code onto the editor.
4. Finally, save the changes made.
Blog Posts
1. Login to your Shopify account and on the left-hand side menu, sail through Sales Channels->Online Store->Blog Posts

2. You’ll find a Create blog post button on the page, click on it.

3. You’ll see an icon button (<>) of embed on the screen (as highlighted in the image, below), click on it.

4. An editor will open, paste the embed code on it and SAVE the changes made.
Kudos! You have successfully embedded the Twitter Widget on your Shopify website.
Try Tagembed – Create Your Free Account Now
Still have questions or need help, please Contact Us or write us at [email protected]